Refrigerant leaks: The largest failure in the industry
|
|
Refrigerant leaks comprise the majority of efficiency losses and part failures in refrigeration systems.
Pressure in refrigeration systems can be as high as 500#.
Even the smallest leak will reduce the efficiency of the system.
Leaks are the largest reason for compressor failures.
Leak detection has been the reason for many tools that purport to solve the problem.
As with most service problems, its not the tool but the knowledge and skill of the service tech that solves the problem.
Refrigerants are under high pressure, may displace oxygen in the room and when exposed to high temperatures may break down into poisonous gasses. If you are not confidant, do not continue.
Methods of leak detection
Soap bubbles
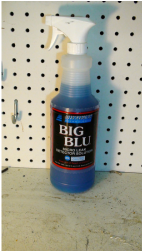
The use of soap to detect leaks is the oldest and in some ways still the best way to find leaks.
We usually do not use actual soap any more. There are solutions made just for this type of leak detection.
The area suspected is covered and you look for bubbles forming. Sometimes a small ball of foam will form at the leak. Other times a small bubble will form at the leak.
The key to finding leaks with soap is patience and attention to detail. A small magnifying glass also helps. The following video demonstrates this method.
No matter what method you may use for leak detection, you will still need soap bubbles to pinpoint the leak.
Halide leak detector
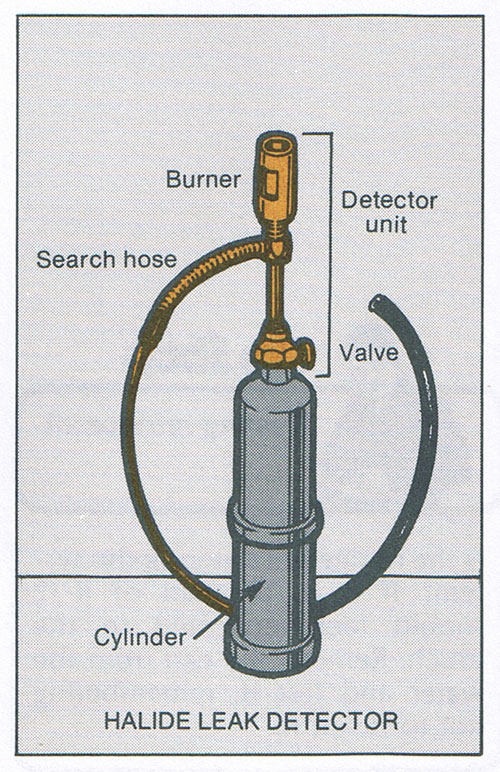
This method uses a propane torch with a special fitting that heats up when the flame is lit. There is a sensing hose that is placed where the leak is suspected. When the refrigerant is sucked up the pipe it comes into contact with the heated fitting and the flame turns green.
This method is seldom used as it is somewhat inaccurate and will not find small leaks.
This method is seldom used as it is somewhat inaccurate and will not find small leaks.
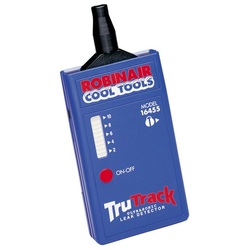
Electronic leak detector
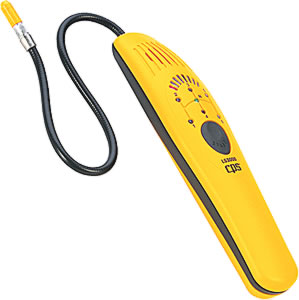
These detectors are capable of finding very small leaks at least in theory. They are usually used to find the general area of a leak, then soap is used to pinpoint the leak.
I have not had good luck with these detectors. They seem to be subject to false readings especially in the presence of water.
In my opinion, these detectors will find nothing more than the proper use of soap with some exceptions such as shaft seals on compressors.
I have not had good luck with these detectors. They seem to be subject to false readings especially in the presence of water.
In my opinion, these detectors will find nothing more than the proper use of soap with some exceptions such as shaft seals on compressors.
Ultra sonic leak detector
These detectors work by using a sensitive microphone to listen to the leak.
This detector I have never used so I cannot say about its effectiveness.
This detector I have never used so I cannot say about its effectiveness.
Ultra violet leak detector
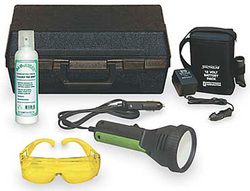
This detector uses a fluid that is injected into the unit. It is left in, usually for several days, then an ultra violet light is used to locate the leak from the glow of the fluid when it leaks.
Some service swear by this method, I swear at it.
I have tried this method and I have found it to be possibly useful but slow and conditions must be just right to work. You must add a fluid to the refrigerant that will show under a black light where the leak is located. The fluid is left in the system sometimes for several days to show the leak. The room must be completely dark to use the light or if it is outside a tarp must be placed over the unit.
I can find the leak far faster by judicious use of bubbles with some exceptions. Leaks in coils can be problematic.
How to find refrigerant leaks

Sequence to find refrigerant leaks
When first approaching a unit that you suspect has a leak use your eyes only.
Do not install the manifold gauge set.
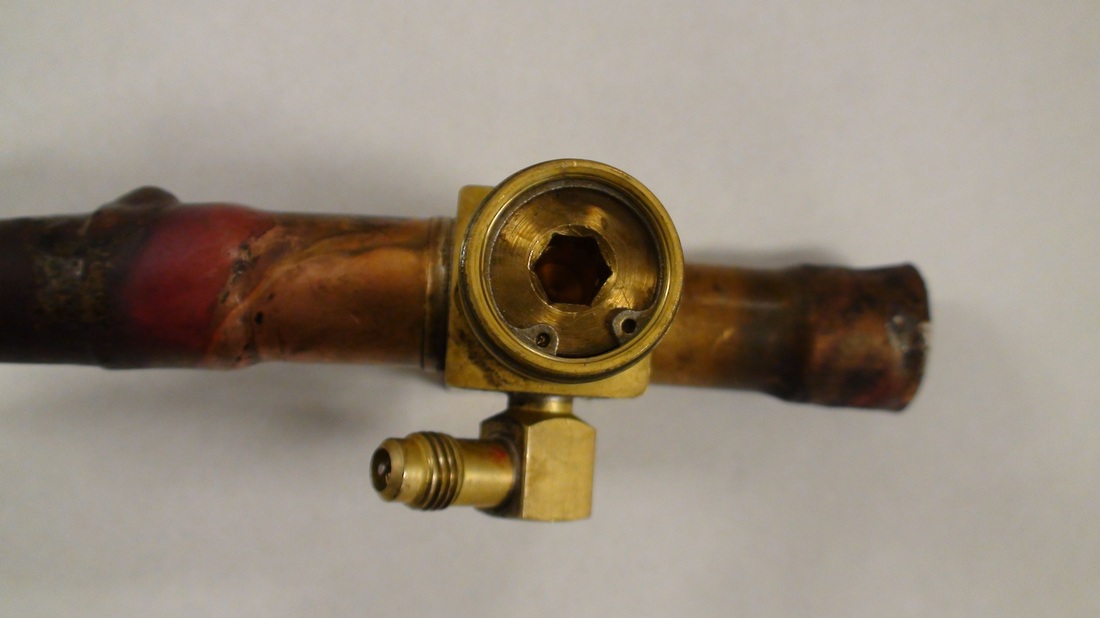
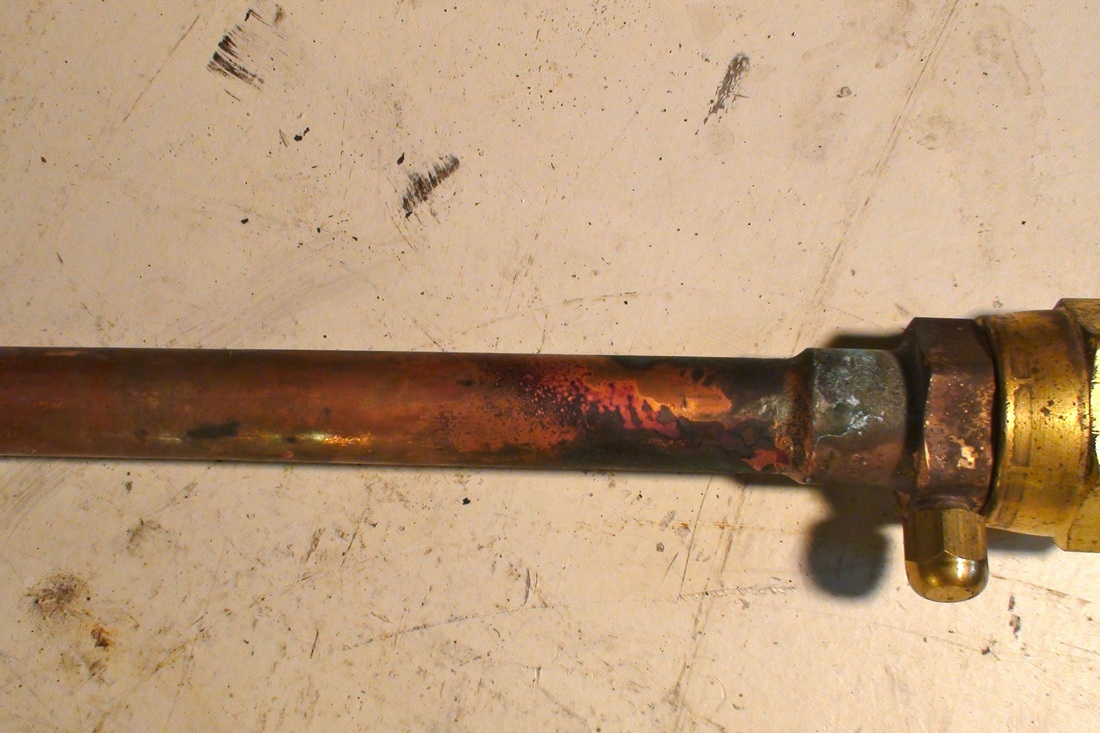
Above is a service valve and a service tap in an older style quick connect fitting.
These are the first and most probable leakers.
Look for oil slicks on these fittings. Oil is an obvious indication of a leak. If there is oil on the fitting, there is a leak.
Prior to installing the gauge set use your leak solution or leak detector around the caps on the line taps.
If you get an indication of a leak, the schrader valve is leaking.
The video below shows where the service valves and line taps may be located. Each manufacturer has their own different designs, so this is not what all of them will look like.
Do not install the manifold gauge set.
Above is a service valve and a service tap in an older style quick connect fitting.
These are the first and most probable leakers.
Look for oil slicks on these fittings. Oil is an obvious indication of a leak. If there is oil on the fitting, there is a leak.
Prior to installing the gauge set use your leak solution or leak detector around the caps on the line taps.
If you get an indication of a leak, the schrader valve is leaking.
The video below shows where the service valves and line taps may be located. Each manufacturer has their own different designs, so this is not what all of them will look like.
The schrader valve
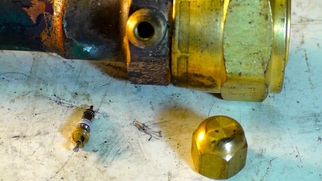
The pic on the left shows the schrader valve (tire valve). This valve is used with the manifold gauge set to tap into the refrigeration system.
Schrader valve removal tool.
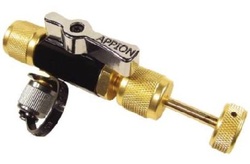
This is an example of a tool that can be attached to the line tap to replace a leaking schrader valve without losing the refrigerant charge.
Repairing service valve leaks
By far, the service valves on air conditioners are the most common leakers.
This should be one of the first checks when looking for leaks. Oil on the valve is a good indicator of a leak.
When the cap is removed you can either use soap solution as the above video explains or an electronic detector.
If you find a leak, the valve must be replaced.
I have seen endless methods of sealing valve caps, none of which prove to be effective repairs.
Pipe dope, assorted types of glop and o rings have all been used. I have followed many service techs that have tried all these methods. They usually work for a while, but the reason I was there was because the fix did not work and the unit was down again.
These valves usually leak because the valve was overheated when installed. The barrel of the valve is warped so the
o ring on the plunger cannot seal.
The video below gives some closeups of a valve tightened down excessively.
An oil slick on any fitting is an indication of a leak.
Oil almost certainly means there is a leak at the fitting. The absence of oil does not mean there is no leak.
If there is oil on a coil, that also indicates the presence of a leak.
The method for leak detection is: look for oil, if oil is present on a fitting concentrate on this area. If the fitting is a mechanical fitting, meaning it is a flare fitting, a service valve that can be opened or closed with a tool or any type of fitting that must be tightened with tools, it must be considered suspect. I usually say: look for the oil on the mechanical fitting. Check it for leaks. If you do not find it there, look again. It is probably there. Remember patience.
Brazed joints seldom leak once they are sealed.
Once you have determined the line taps have no leaks:
Shut down the unit. Install the gauge set hoses. The reason for shutting down the unit is if the refrigerant charge is very low, the low side or suction side may be in a vacuum. If so, when you install the gauge set, you may pull air into the system. Air is the enemy of a refrigeration system. With the unit off the 2 pressures will equalize and the low side will be above atmospheric pressure.
Gauge pressure readings
For our purposes, we will only consider air conditioner pressures.
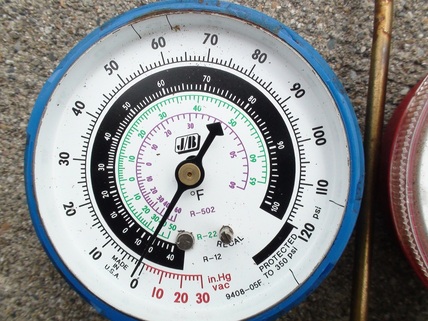
Using R-22, optimal suction pressure is 68.5# PSIG which equals a saturation temperature of 40 degrees F. For a saturation press-temp chart click here
When the refrigerant is at 68.5# the refrigerant is boiling at 40 degrees F. The gauge on the left can be used to illustrate press-temp. Look at the scale at the outside. This is psig pressure. Line up the green scale (R-22) with a pressure of 68.5. You should note that the number is 40. This 40 degrees. So 68.5# equals 40 degrees boiling point.
Lets look at another boiling press-temp. The low side pressure is 52#. Check the press-temp chart or the gauge on the left. Note the temperature is 20 degrees. What does this mean?
The refrigerant is boiling below freezing. This means the condensate on the evaporator will freeze. The evaporator will get covered with ice and no air can pass through. The unit will stop cooling.
So when we read the low or suction side pressure and it is reading too low, it may be low on charge.
There are a number of reasons for a low side pressure reading, but the most common is low refrigeration charge.
Start the unit
Once the gauge set is connected, note the pressure. It should read the approximately the pressure-temperature of the ambient air. (If the ambient air is 70 degrees, and the refrigerant is R-22, the pressure should be 121#).
Once the unit is started, the pressures will change. The right side gauge will increase and the left side will reduce. After several minutes the pressures will settle.
If the refrigerant is R-22, "normal pressure" on the low side should be 69#. This pressure equates with 40 degrees F. If the unit uses R-410A, low side pressure should be 118#. These pressures are given as "normal" but the actual pressures will vary with inside air temperature, indoor fan speed, ductwork size and condition, whether the indoor coil is plugged or indoor fan condition.
If the pressure is lower than normal, there are a number of possible reasons for this, one of which is low charge. If the refrigerant level is low, the evaporator will be starved for refrigerant and the pressure will be low.
